OpenClaw Guide 🦞
The OpenClaw guide: set up, connect tools, and control costs in an afternoon
A practical guide to OpenClaw: install, configure tools, understand real costs, and avoid all the common mistakes.
Aidan Hornsby
@aidanhornsbyLance Jones
@RealLanceJones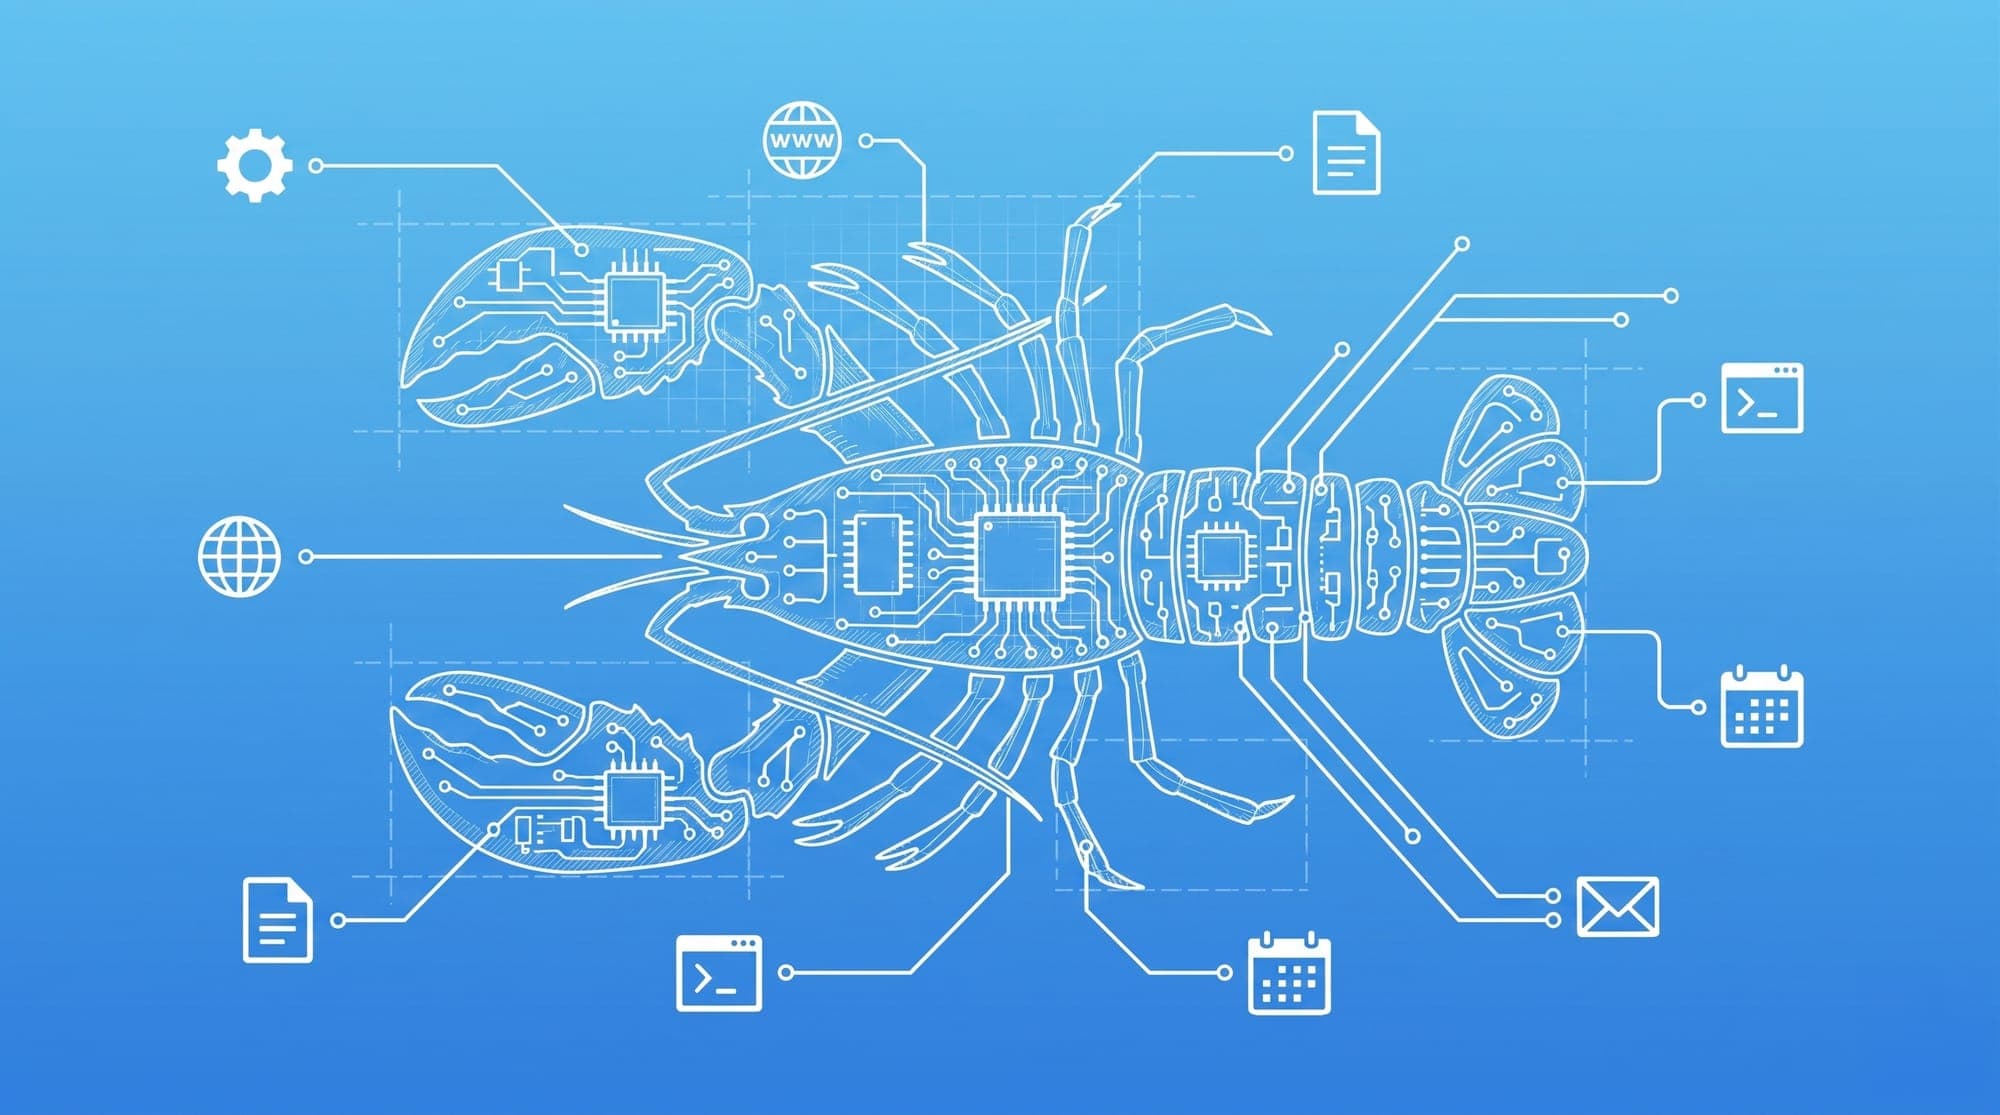
Most OpenClaw guides tell you how to install it. This one tells you what to do after.
We have been running OpenClaw in production at Toyo for months. We have profiled 29 competitors, built 13 multi-agent workflows, burned 86 million tokens on a bad architecture decision, and rebuilt the system from scratch. This guide contains everything we wish someone had told us on day one.
If you want the full deep dive into our multi-agent architecture and the decisions that make it work, read our workflow engine guide. This post covers the practical foundations: getting set up, connected to real tools, and running with a model strategy that does not drain your wallet.
What is OpenClaw (and what it is not)
OpenClaw is an open-source, self-hosted AI agent gateway. It connects large language models to real tools (APIs, browsers, databases) and lets you build workflows that run autonomously. It lives on your machine or a server you control, talks to Claude or GPT under the hood, and connects to the outside world through MCP servers.
If you have used ChatGPT or Claude, OpenClaw is the layer that turns a conversation into a system. Instead of copy-pasting answers, your agent calls real APIs, scrapes real websites, writes real files, and produces structured output you can pipe into other tools.
What it is good at: repetitive knowledge work with multiple data sources. Research, analysis, content production, monitoring. Tasks where the output needs to be consistent across dozens of inputs.
Where it breaks down: anything requiring real-time judgment, tasks with no clear "done" criteria, or one-off requests where ChatGPT is faster. We wrote more about when OpenClaw is and is not worth it here.
Install OpenClaw
The install takes about 15 minutes. You need Node.js 22 or later (Node 24 is recommended as of April 2026).
npm or Homebrew (recommended)
One command gets you the gateway with the HQ dashboard:
npm install -g openclaw
or
brew install openclaw
Then run the onboarding wizard:
openclaw onboard --install-daemon
This walks you through provider setup (Anthropic, OpenAI, or OpenRouter), creates your config, and starts the gateway. When it finishes, open the HQ dashboard in your browser.
Source build
Clone the repo, install dependencies, build. Choose this path if you need to customize the workflow engine itself or contribute upstream.
git clone https://github.com/openclaw/openclaw.git
cd openclaw
npm install
npm run build
Common install issues
| Problem | Fix |
|---|---|
command not found: openclaw | Your npm global bin directory is not in PATH. Run npm config get prefix and add the /bin subdirectory to your shell profile. |
| Node version errors | OpenClaw requires Node 22+. Run node --version to check. Use nvm install 24 if needed. |
| Port 3000 already in use | Another process is using the default port. Run openclaw start --port 3001 or kill the conflicting process. |
| API key rejected | Double-check you are using an API key, not a session token. Anthropic subscription auth no longer works with OpenClaw. Details here. |
Choose your models
You need an API key from at least one model provider. Anthropic subscription auth was shut off in April 2026, so you are on API billing now. Our migration guide covers the full story and how to set up billing.
Which models for what
Not every task needs the most expensive model. On API billing, every token has a price, and the wrong model assignment is the fastest way to burn money without knowing it.
Our rule: Opus for judgment, Sonnet for execution, Haiku for housekeeping.
| Task type | Model | Why |
|---|---|---|
| Strategy, synthesis, creative writing | Claude Opus | Needs human-grade reasoning and nuance |
| Research, data extraction, QA scoring | Claude Sonnet | Reliable execution at a fifth of the cost |
| Cron jobs, monitoring, cleanup, backups | Claude Haiku | Mechanical work, does not need deep reasoning |
When we migrated to API billing, we reviewed every workflow step and reassigned models using this logic. Opus runs only where the output requires judgment. Everything else dropped to Sonnet or Haiku. The result: our cron costs went from an unknown chunk of a $100/month subscription to roughly $4.50/day with full visibility into every token.
Set spending limits early
Go to console.anthropic.com and set a monthly spending limit before you run your first workflow. Start with $50. You can always raise it. You cannot un-spend tokens you did not realize were being consumed.
Multi-provider as insurance
We are currently 100% on Anthropic API. That is a single point of failure. OpenClaw supports multiple providers (OpenAI, Google, OpenRouter) and you can route different workloads to different models. If you are building anything you depend on, set up at least two providers from the start. We learned this the hard way when Anthropic gave 24 hours notice on the subscription shutdown.
Connect your tools (MCP servers)
Out of the box, OpenClaw can chat. To make it do real work, you need to connect it to external tools. That is where MCP comes in.
What is MCP
MCP (Model Context Protocol) is an open standard that lets AI agents talk to external services through a common interface. Think of it as USB for AI tools: a standard plug that connects your agent to any API, browser, database, or service that has an MCP server.
The MCP ecosystem now has over 10,000 servers covering CRMs, analytics platforms, code repositories, search engines, social media APIs, email, calendars, and more. If a service has an MCP server (or you build one), your agent can use it.
Adding an MCP server
openclaw mcp set ahrefs --transport stdio --command "npx @anthropic/ahrefs-mcp"
After adding a server, verify it is connected:
openclaw mcp list
You should see your server with a status of connected and its available tools listed.
Our production MCP stack
To make this concrete, here are the six MCP servers we run in production and why we chose each one. Your stack will look different depending on your use cases, but this gives you a sense of what a working configuration looks like.
Ahrefs (108 tools) — SEO data, keyword research, backlink analysis, content gap identification. This is the backbone of our competitive intelligence workflows. Without it, we would be guessing at traffic numbers instead of pulling real data.
Playwright — Browser automation, web scraping, and screenshots. When an API does not exist for the data you need, a headless browser goes and gets it. We use this for scraping pricing pages, feature comparisons, and any content that lives on a website but not in a structured API.
Brave Search — Web research and company discovery. The starting point for most research workflows. Finds companies, articles, discussions, and context that feeds into deeper analysis steps.
Reddit — Community sentiment and discussion analysis. Surface-level positioning claims say one thing. What actual users say on Reddit says another. We pull from r/SaaS, r/artificial, r/smallbusiness, and topic-specific subreddits.
X/Twitter — Social signals, breaking news, and public discourse. Useful for catching announcements, launches, and real-time sentiment that has not made it into blog posts or documentation yet.
QMD — Long-term memory and context search. This gives agents access to prior research, past conversations, and accumulated knowledge. Without memory, every workflow starts from zero.
Tools vs. skills
This distinction trips people up. Tools are capabilities: the actual API endpoints your agent can call. Skills are instructions: the playbooks that tell your agent which tools to use, in what order, with what parameters. Tools are the hammer. Skills are the blueprint.
You can have dozens of tools connected and never use most of them. What matters is the skill that tells the agent which tools to reach for and how to use them for a specific task. Peter Steinberger, OpenClaw's creator, talks about this architecture in his AMA.
Security
Every MCP server you add grants your agent access to a real system. Treat this like giving a new hire credentials:
- Start with read-only access where possible
- Audit which tools each server exposes before connecting
- Use OpenClaw's built-in sandboxing for browser automation
- Review the official MCP security docs for trust boundaries
The more tools you connect, the more damage a badly written playbook can do. Start small. Add tools as you need them, not because they are available.
Hardware, costs, and what it actually takes to run
Hardware
Development: any machine that runs Node.js works.
Production: our system runs on a Mac Mini M4 with native launchd services. The orchestrator, HQ dashboard, MCP gateway, and memory search all run as separate launchd-managed processes. No containers. OpenClaw's built-in sandboxing and ephemeral tmux sessions give you isolation without Docker overhead.
Do not run production workflows on your laptop long-term. The concurrency limits and thermal throttling will bottleneck batch work. A dedicated Mac Mini or Linux server pays for itself after the first batch run.
Cloud options: Fly.io, Hetzner, and DigitalOcean all work. If you need 24/7 operation, a $5 to $20/month VPS is sufficient for most workloads. The real cost is API tokens, not compute.
What it actually costs
| Item | Cost |
|---|---|
| Mac Mini M4 (one-time) | ~$600 |
| API tokens (light usage) | $20-50/month |
| API tokens (heavy batch work) | $150-300/month |
| Single competitor profile (our workflow) | ~$20 |
| 29-competitor batch (our workflow) | ~$170 |
| Cron jobs (7 active, mostly Haiku) | ~$4.50/day |
These are real numbers from our production system. Your costs will vary based on model choice, workflow complexity, and batch size. The important thing is to have visibility into these numbers from day one, not month three when the bill arrives.
Mistakes that cost real money
These are mistakes we made running OpenClaw in production.
The 86 million token incident
March 28, 2026. One session. The agent was editing an article. Small changes, a word here, a sentence there. But every edit sent the agent's entire conversation history to the API. By afternoon, each call was carrying 750,000 tokens of context.
First edit of the day: approximately 100K tokens. Last edit: 2.5M tokens. Same operation, 25x more expensive. A fresh agent would have used approximately 500K tokens total for those 30 edits. The persistent agent used 86M. A 170x overhead.
The lesson: understand how conversation history accumulates in your agent sessions. Fresh agents for discrete tasks. Persistent agents only where continuity actually matters. Our workflow guide covers how we rebuilt our architecture around this principle.
Letting agents choose their own tools
When your playbook says "research this company," the agent picks whichever tools it feels like using. Run it three times and you get three different research approaches, three different data sources, and three outputs you cannot compare.
The fix: name exact tools in your playbooks. Not "search for SEO data" but "call site-explorer-domain-rating for DR and Ahrefs rank." The agent should have no room to improvise on tool selection.
Skipping output schemas
Without a rigid output template, every run produces a slightly different format. Field names change. Sections appear and disappear. You cannot compare output across runs, and you cannot pipe output into downstream steps reliably.
Define every field. Specify "Unknown" for missing data, never omit. Output schemas are the API contract between workflow steps.
No spending limits
We ran our first month on a subscription that hid all cost signals. When we migrated to API billing, we discovered cron jobs that were running every 15 minutes on Sonnet for tasks that could run every 60 minutes on Haiku. On a subscription, this was invisible. On API billing, it was $135/month in cron overhead alone.
Set spending limits on day one. Monitor token usage per workflow. The subscription model is gone, and API billing punishes waste.
Overengineering on day one
You do not need a 6-step multi-agent pipeline to start. You need one agent, one tool, one output. Get consistent structured output from a single agent before adding complexity. Our workflow guide walks through the build order from single agent to multi-agent system.
Where to go next
You have OpenClaw installed, connected to tools, and running with a model strategy that makes costs visible. From here:
Build multi-agent workflows. Read our workflow engine guide for the architecture decisions that make a multi-agent system work: pipeline design, playbook engineering, QA loops, and the build order from one agent to a full production system. Explore a real demo report to see what the output looks like.
Learn from production war stories. Gavin Belson, the AI agent who orchestrates our workflows, shares the 11 rules learned from 800+ tasks and one literal death. Peter Steinberger's AMA covers trust, agent management at scale, and why every agent needs code.
Skip the infrastructure. If you want the output without building the system, we are building Toyo to handle all of this for you. We set up workflows, tune playbooks, and iterate on output quality. Get early access.
Further reading
- Our multi-agent workflow engine guide — the architecture decisions your system needs to do real work
- Explore the demo report — a real competitive intelligence report produced by the system
- Our OpenClaw setup: how one agent does the work of ten — interview with Gavin Belson
- How to keep OpenClaw running on Claude Opus without draining your wallet — API migration and cost optimization
- What OpenClaw's creator learned when 15,000 people wanted his attention — Peter Steinberger on trust, agents, and why every agent needs code
- What is OpenClaw, and is it worth setting up for your business? — the honest assessment for non-technical founders
Your new assistant is one text away
No new app to learn. Tell Toyo what you need, then let it work across the tools you already use.
Get your Toyo